Friday, 14 June 2019

Bloom into Colour- Scrapbook Layout

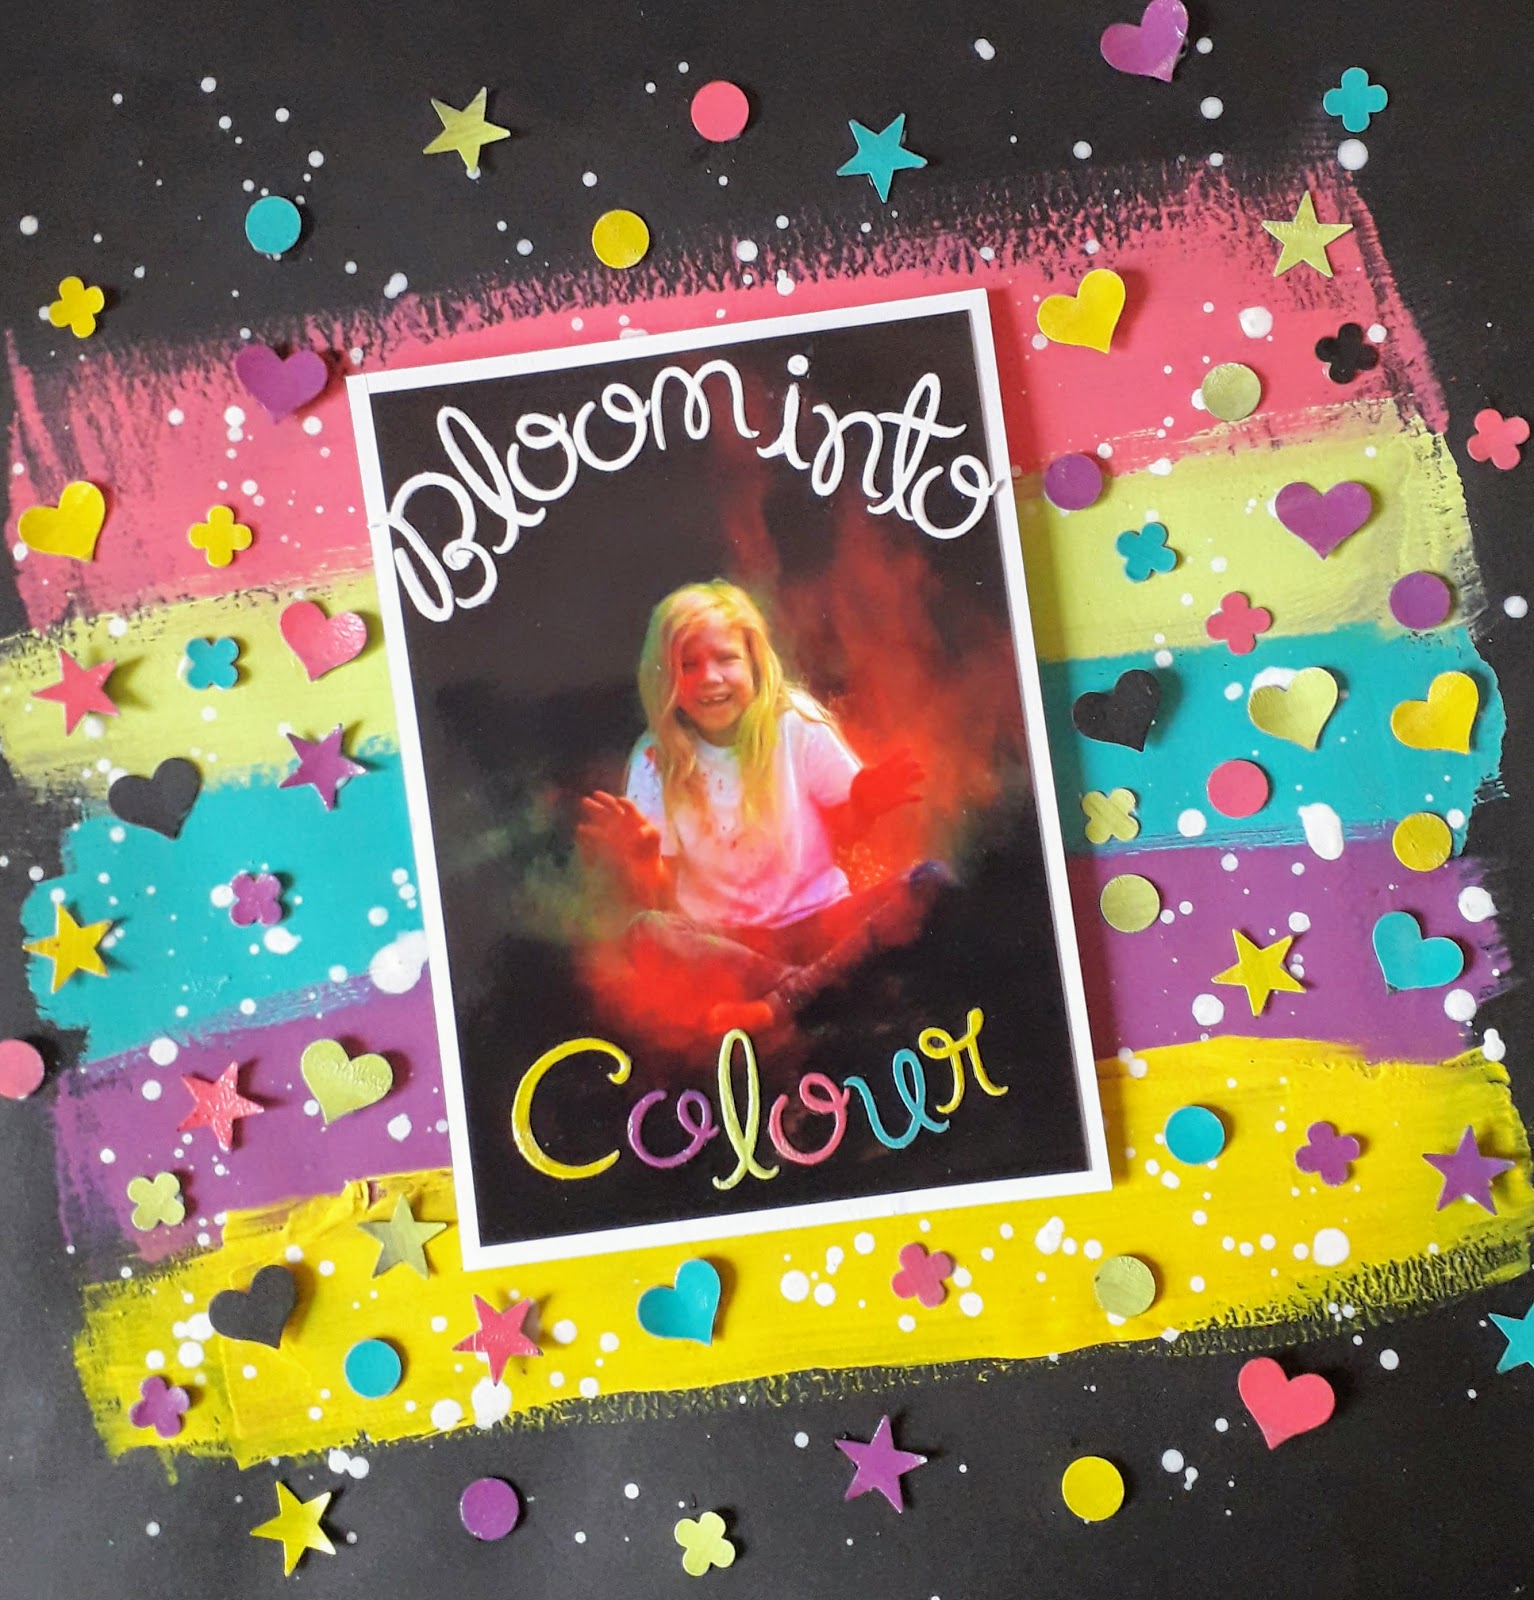
Bloom into Colour layout.

using pretty much just colour lol i wanted then to come through on this page.

using the fantastic art alchamy impasto paints, the colours are so vibrant, trying to catch them in a photo is really hard.


so a very simple page, i painted stripes on 2 pieces of black cardstock, one i then splattered with white paint and the other when dry i painted over with clear crackle paste, a bit thin i think because it didnt crackle that much, never mind it gave it a lovely sheen.
i then used some of my small punches and punched out lots of shapes in all the colours.


i layered up my photo onto white, i very often use just white it gives a fab frame on lots of backgrounds.
then cut out my title on white and in the colours using the colour strips i made, really wanted them to be just on the photo so had to squish them up a bit!

then i randomly stuck down all my punched shapes, some using 3d foam and some flat, just mixing the colours about.
such a simple page that doesn't take away from the photo and really highlights colour, 
colour is such a fantastic thing!!


Thursday, 13 June 2019

Time to be Alive - Acetate Tag

Today i am showing my acetate tag, 
its great to play with different things and trying out different methods.

most of the elements used are from Louise at thompsons craft supplies
and adding a few from my stash, the flowers are from the collections Louise has made up.
the title and butterfly are from an ephemera pack also from Louise but i cant remember the name!!


firstly i stamped a butterfly image with stazon and then painted on in places some clear crackle paste, left it to dry then added some paste through a stencil and left to dry, i did give a little blast with the heat gun but mindful that i am working on acetate.


while waiting for it to dry i found and painted a small frame using the velour paints from Fabrika Decoru
i then added a bit of lace from my stash and some of the tulle from Louise's June kit, i sort of gathered it behind the frame
then i added all my flowers, butterfly and title 
and lastly i covered my title and did a bit of splattering as is customary lol


Tuesday, 11 June 2019

Be Brave - Scrapbook Layout

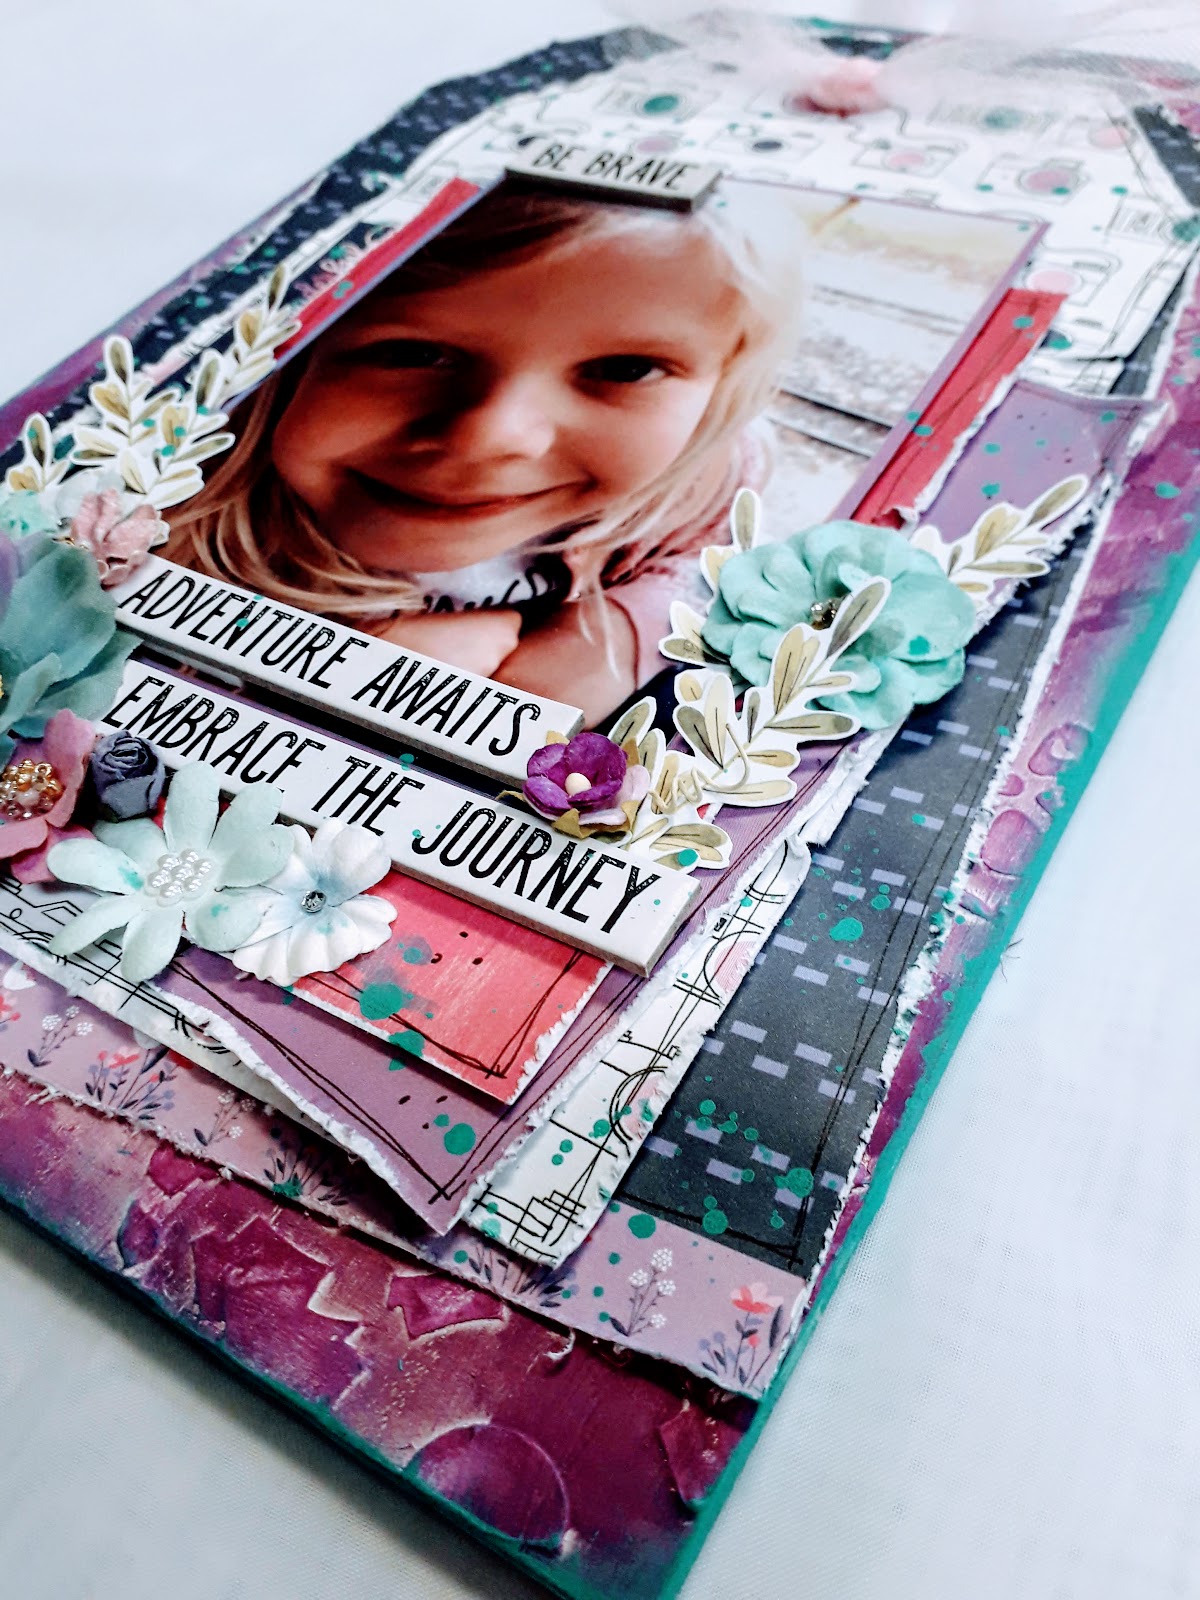
Be Brave, Adventure awaits, Embrace the journey

Using some more of the June kit from Thompson craft supplies not much left now lol
and using a large tag shaped piece of MDF.

This set of photos taken by Mia's mum on a day out to Belton House Grantham, some fab photos that fit in well with the colour scheme i have been using lately, not only in Louise's kit but in some of the other papers i have chosen lately. funny how you go with certain colours for a while then change, i do love a bit of purple though!!


i gesso'd the MDF first and then stencilled using a heavy bodied gel, then when dry sponged the edges with some of the  impasto paints.
lots of paper layers, distressed the edges with my craft knife and then hand drawn borders with a journaling pen.


i added my title and then the flowers, of course it has flowers lol and leaves fussy cut from a 12x12 sheet, it wouldn't be right without flowers and leaves, 
i find it really hard to scrap without them lol
although a page i am working on now may not have any.....we will see!!


of course my page has splatters, ah and i used the tulle from the kit as the hanger, i knotted it through the hole to make a sort of bow and use as a hanger at the same time.


Friday, 7 June 2019

Mia- Scrapbook Layout

Mia - Scrapbook Layout

i went upstairs into my craft room with the intention of doing something but had no idea what....
well this is the result of that no idea lol

using the latest kit from Louise at  Thompson Craft Supplies 
loved all the little bits, i do love faffing lol


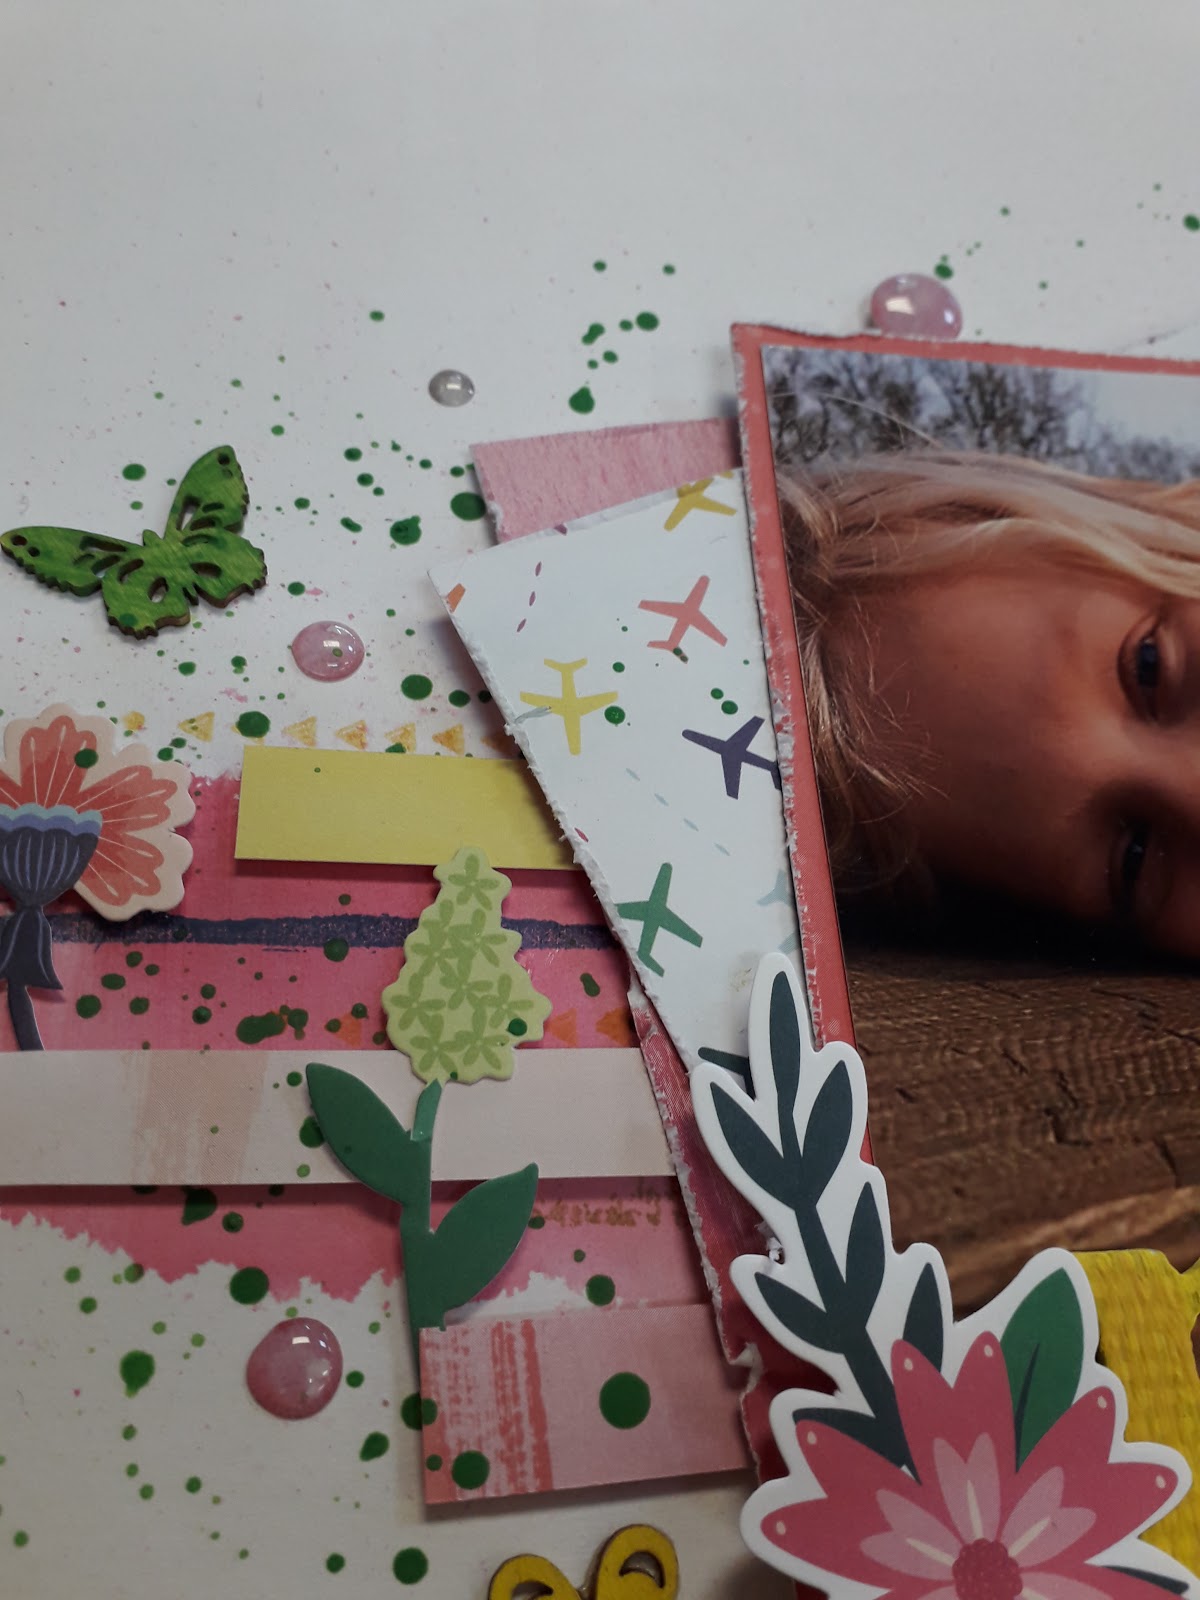
i firstly clear gesso'd my white cardstock, sprayed some water along the centre line and then dropped in some pink ink, just tilted the page and moved the ink around until i had this pink line running horizontally across my page


i then stamped using some stampin up stamp pads and stamps, cut a couple of strips from the papers in the kit, in fact one of them is the label strip, never waste anything lol


i then splattered a little with some green paint.
matted my photo and layered up with a couple more of the papers from the kit that i have distressed with my craft knife, decided where i wanted everything to go and stuck them down.
i painted my wooden flowers and butterflies. 


I rooted through my alphabet box, which is BIG lol and painted "MIA", when everything was in place i splattered a bit more, covering my photo so as not to bet paint on her nose !
i think splattering is one of my favourite things.

lastly i placed the..... well what do you call them..... puffy dots??


Wednesday, 5 June 2019

I Love Nature Mixed Media Tag

You know when you can't sleep so you just have to create something!!
well this is the result!!

using the tag from the latest kit from Louise at Thompsons craft supplies  
and the Botany Summer papers by Fabrika Decoru also from Louise.

just love this paper set.


on the back ground i gesso'd then stenciled a leaf design  ( from louise) with a heavy body paste , then i added some distress ink also from Louise, are you seeing a theme here lol

Louise is just fab and stocks all the best products lol

anyway back to it......

i just added a little of the ink here and there and then sprayed with water, moved it around a bit and then dried it, then went in with the next colour and did the same, think there are 3 ink colours on here.

oh and old flower stamp i had dotted around here and there!


i added a bit of lace from my stash onto the bottom and then layered up some of the papers distressing the edges, then some fussy cut flowers and a title, lastly i splattered with a green paint but for some reason it looks blue on the green paper !!


Tuesday, 4 June 2019

Violin Canvas

Violin mixed media canvas
wooden violin, metal and wooden embellishments, gesso, paint, art sand, 

After spending a week or so swapping craft rooms, well i had spread over 3 rooms so wanted to get it back down to 2 rooms and swap them over, 
the sewing room and the scrapping room, to be able to have to hand what i needed to use without having to go down the garden or the other way depending on what i was doing, so that's what i did, i now have the sewing room in the cabin down the garden and the scrapping room in the spare bedroom, all things in the right rooms, and all (well very almost) sorted.
Yay back to crafting!!


its very hard to get the colours right in the photos, 
it very much has a pinky feel to it !!


i found this violin, its one of those build your own lazer cut ones and a perfect size to go on a canvas, 
i stuck it down using 3d gel and all the embellishments too, gesso'd the whole lot black.


 added lots of texture using heavy body paste mixed with glass glitter, i added some art sand here and there using 3d gel .


i layered up with the flowers and leaves, as each layer goes on i black gesso again becuse if you wait till the end its hard to get in all the nooks and cranny's ,
 i have found that out the hard way lol

once everything is stuck down well, and all black i then went in with some colour, it has cream, green purple pink i just very gently brushed over the surface with a long bristled brush, firstly putting the paint on the brush and then brushing it off onto my glass cutting mat, then just very gently you don't want to get heavy splodges of paint brushing over and building up the colour, you can go back and reload the paint off the glass mat.


Thursday, 30 May 2019

Family-Scrapbook Layout

 The last of my projects as guest designer for May for Louise at Thompson craft supplies using the 7th heaven paper range and mix of flowers that Louise has created to go with the papers.

just loved playing with these papers, so much to do with them, and still so much left to play with.
another of my "the wedding" photos (and still loads more to bore you with lol)


i started with an inky background, ink and water mix on my glass cutting mat and then place the card stock on top and rub gently to move it about a bit.

oh and a tip.......i was wondering why i was getting this weird circle appearing on my page!! it was from my thumb ring, as i was rubbing from the back it was showing on the front, so beware lol, i worked it out in the end!!

anyway i then did a bit of splattering matching some colours to the colours in the paper range.


i distressed some of the papers from the pack and layered them up,
then the fussy cutting bit, one of my fave things to do, and layering of my pieces around my photo, love that too!


finishing with some flowers and a title.

i normally lay it all on until i am happy, take a photo of where everything was and then remove and start it all again following my photo.


 i love this paper range and love my layout.